This guide walks through creating a monitor from the Dashboard. If you already use PingChange, you can skim the Free vs paid wizard section for the differences.
Available on paid plans: choosing monitor location (geolocation), AI alert triggers, and advanced anti-bot friendly capture behavior (see Geolocation monitoring, AI-assisted monitoring, and Anti-bot resolution).
Before you begin
- Sign in to your workspace.
- Optionally add at least one notification channel under Dashboard → Channels so you can receive alerts.
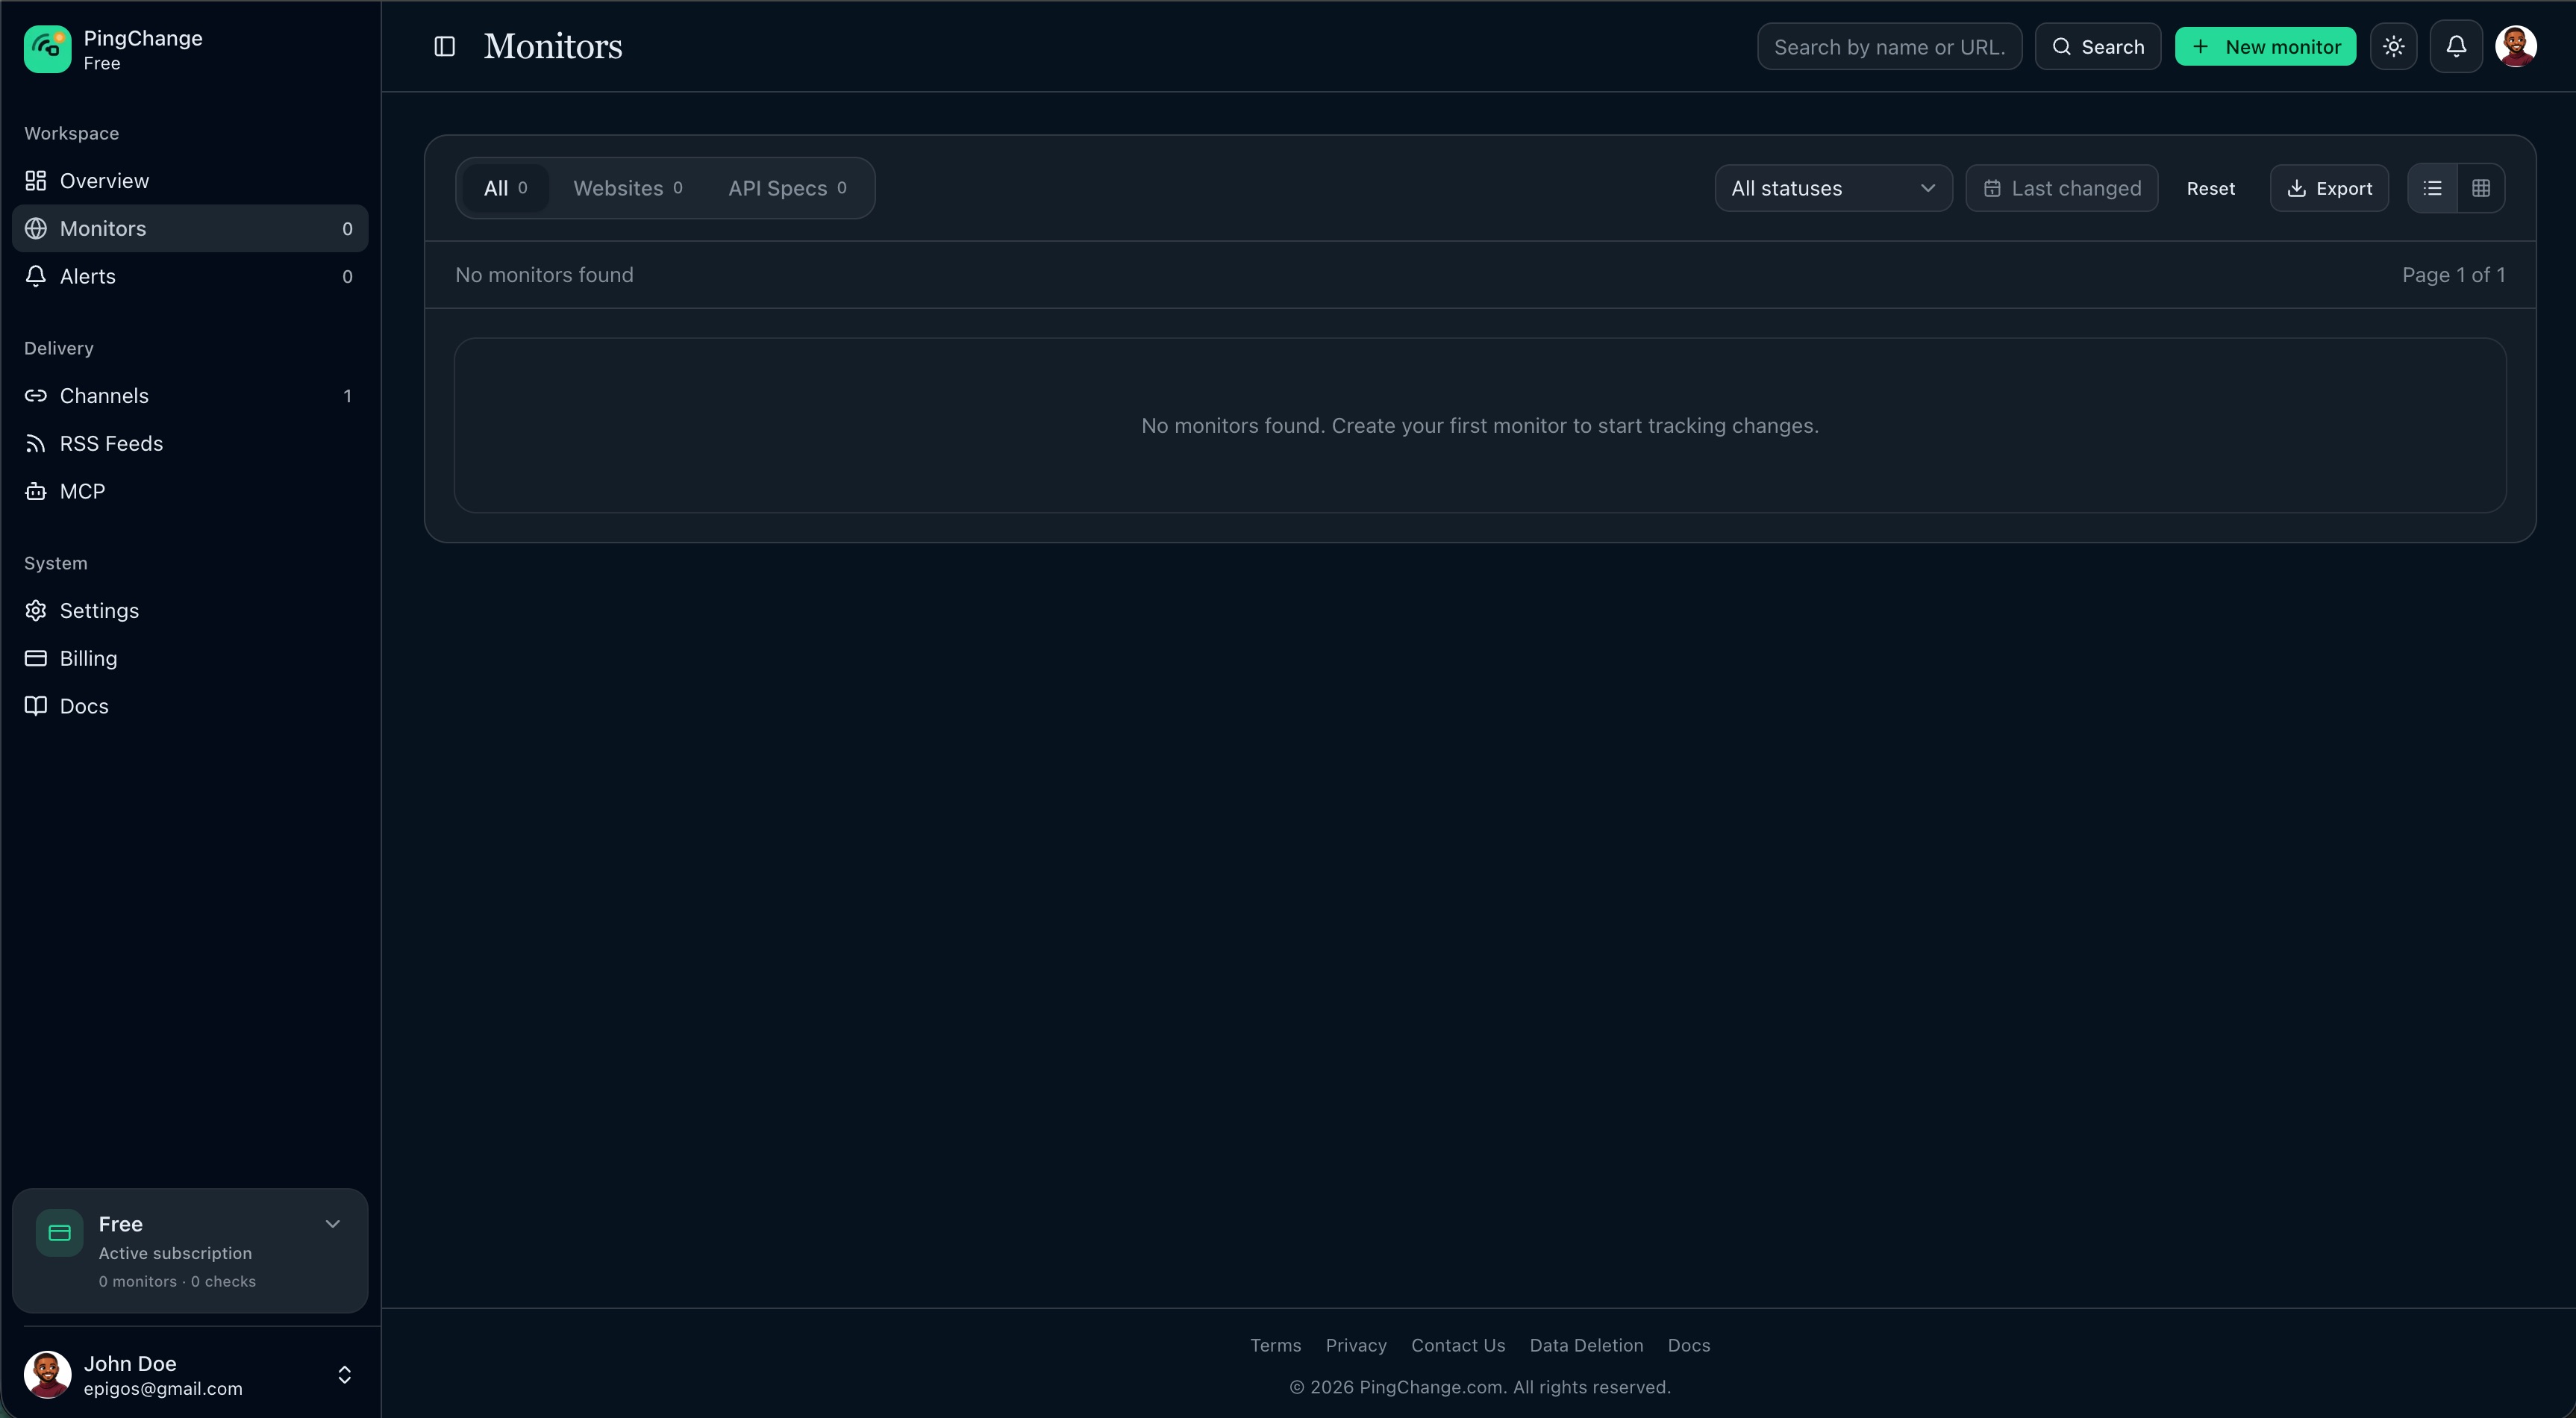
1. Open Monitors
Go to Dashboard → Monitors. This is the list of everything you track.
2. Start the wizard
Click New monitor. A panel opens with a short multi-step flow. The sidebar shows how many steps you have (three on the free plan, four on paid plans).
3. Step — Source (URL, type, preview)
- Paste the URL you want to watch (a normal page or an API spec URL).
- Choose Webpage or API spec depending on what you are monitoring.
- Click Preview so PingChange loads the page and shows a snapshot. This confirms the URL is reachable and helps you name the monitor.
On paid plans, preview uses a smart, stealth-oriented browser session when pages are protected by captchas or bot checks. You do not turn this on manually.
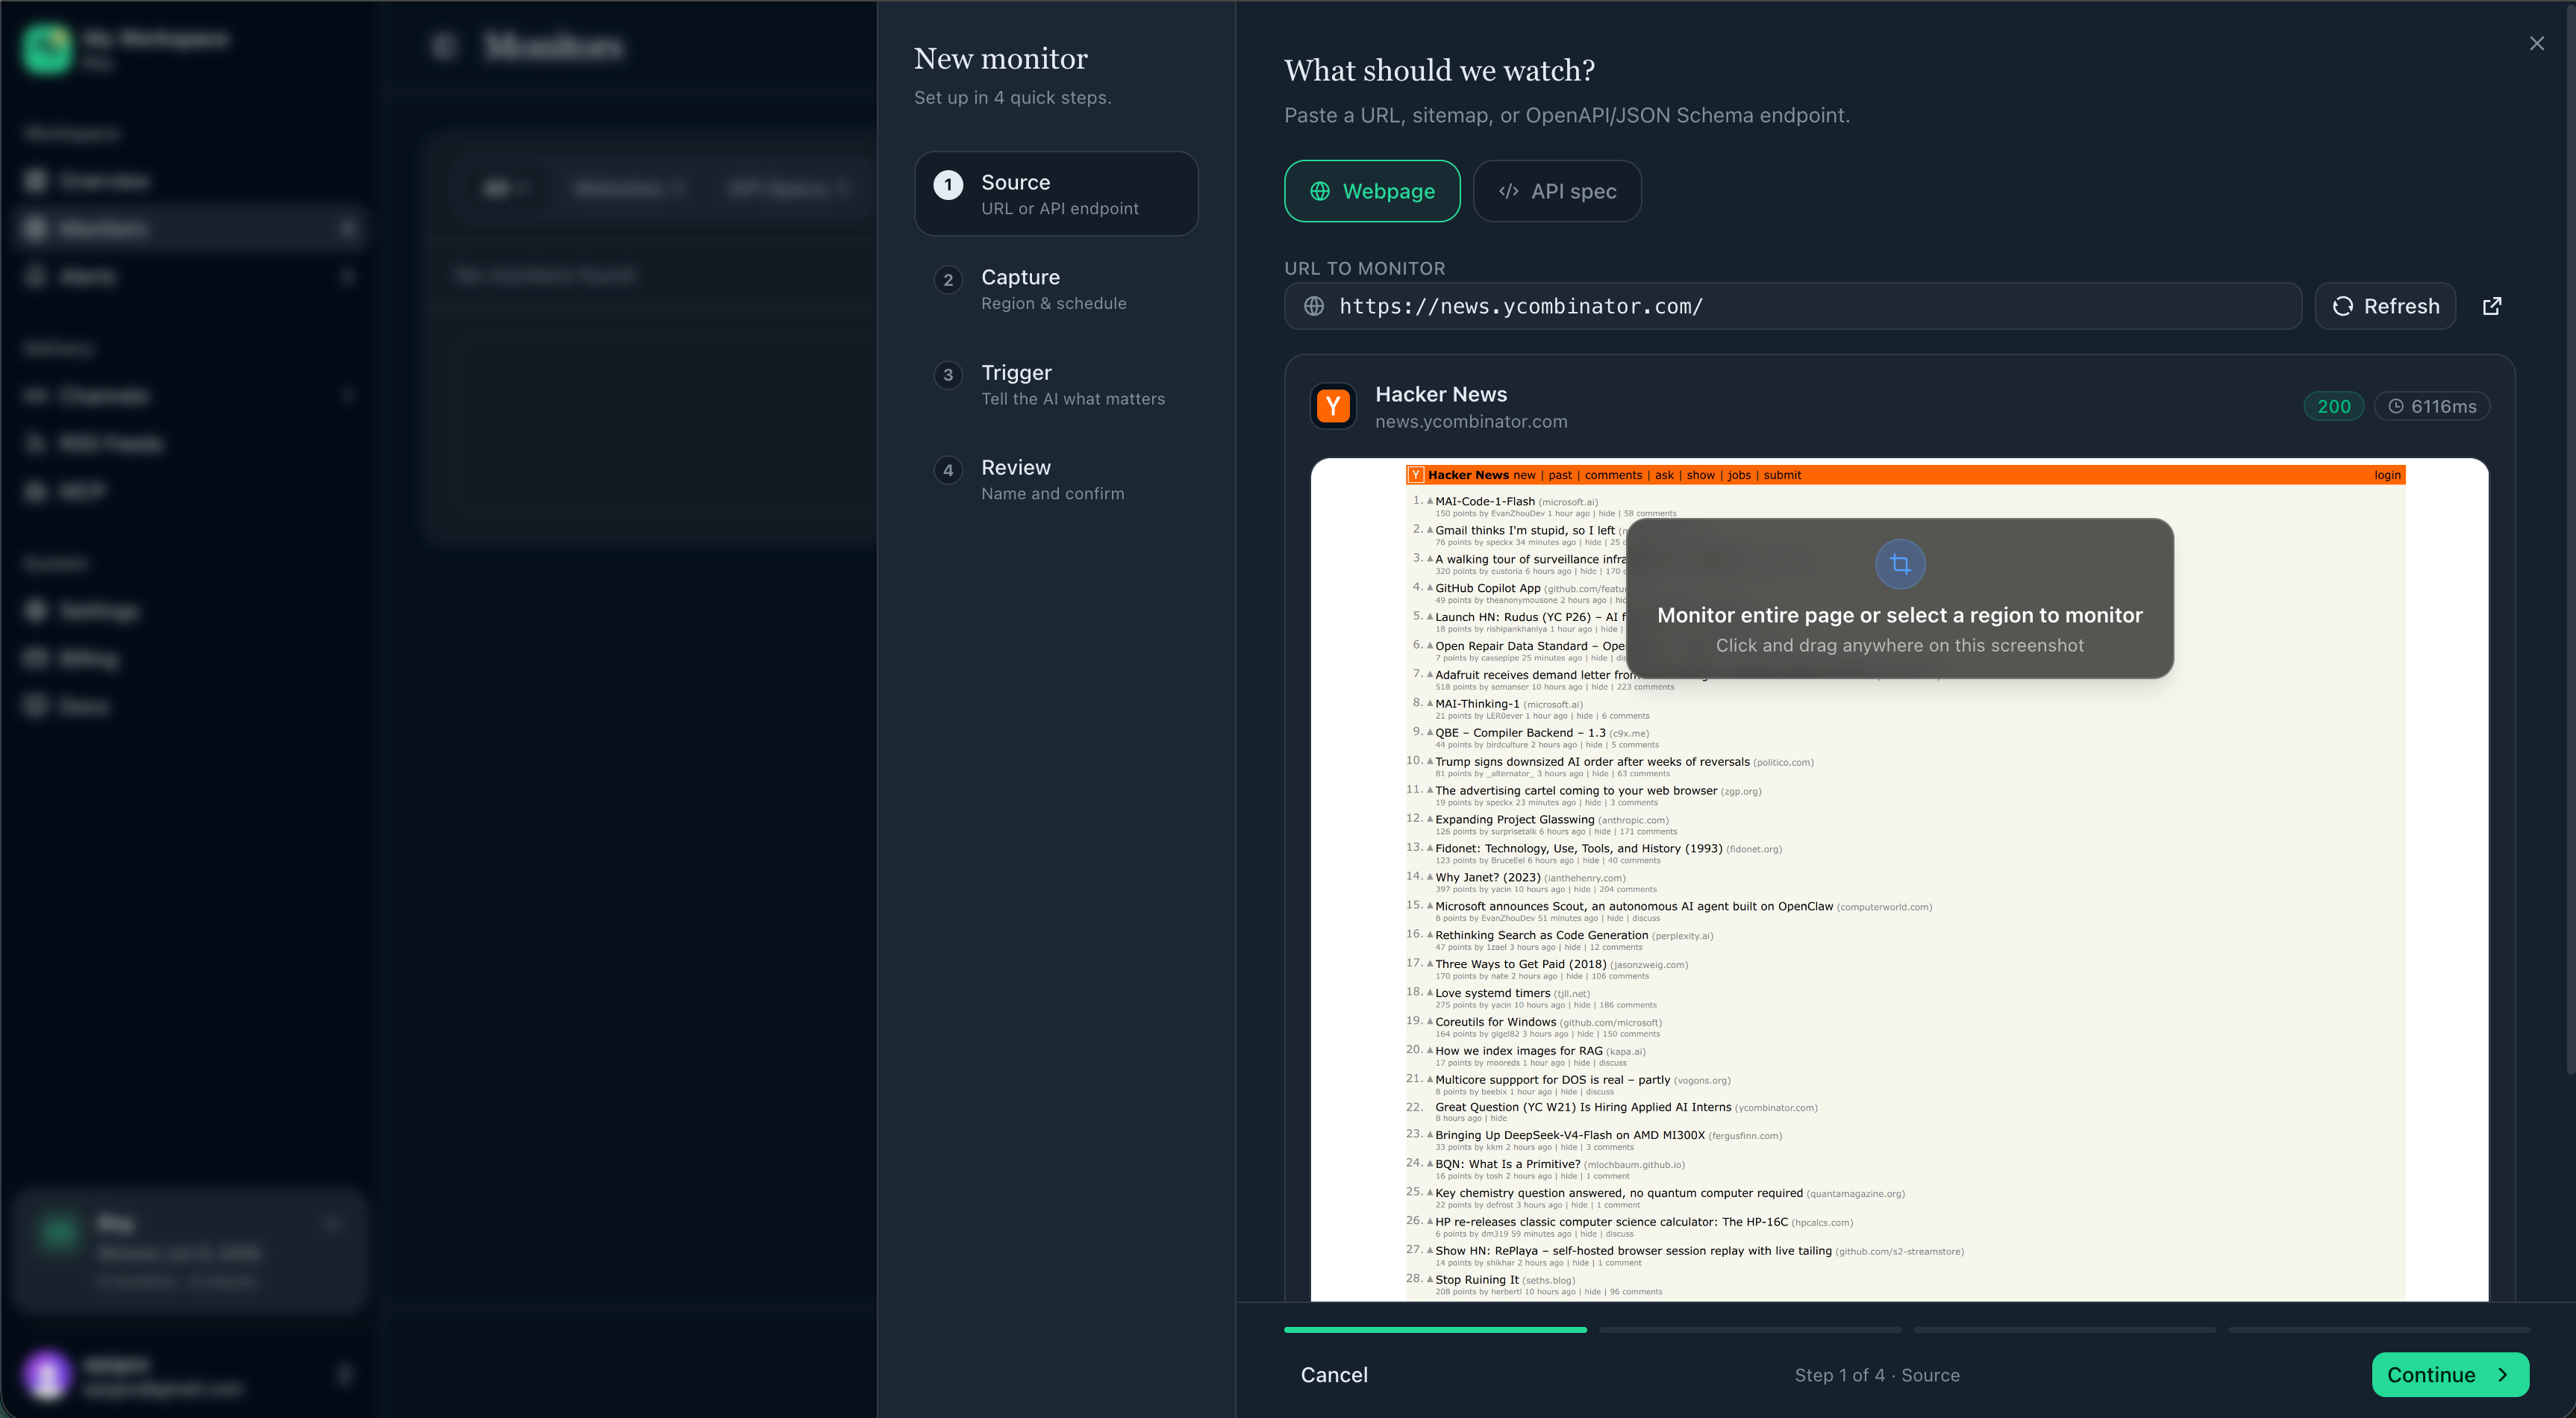
Optional: limit the area of the page
On the preview, you can draw a region on the screenshot to focus on part of the page (for example only the pricing block). This narrows what we emphasize when comparing snapshots.
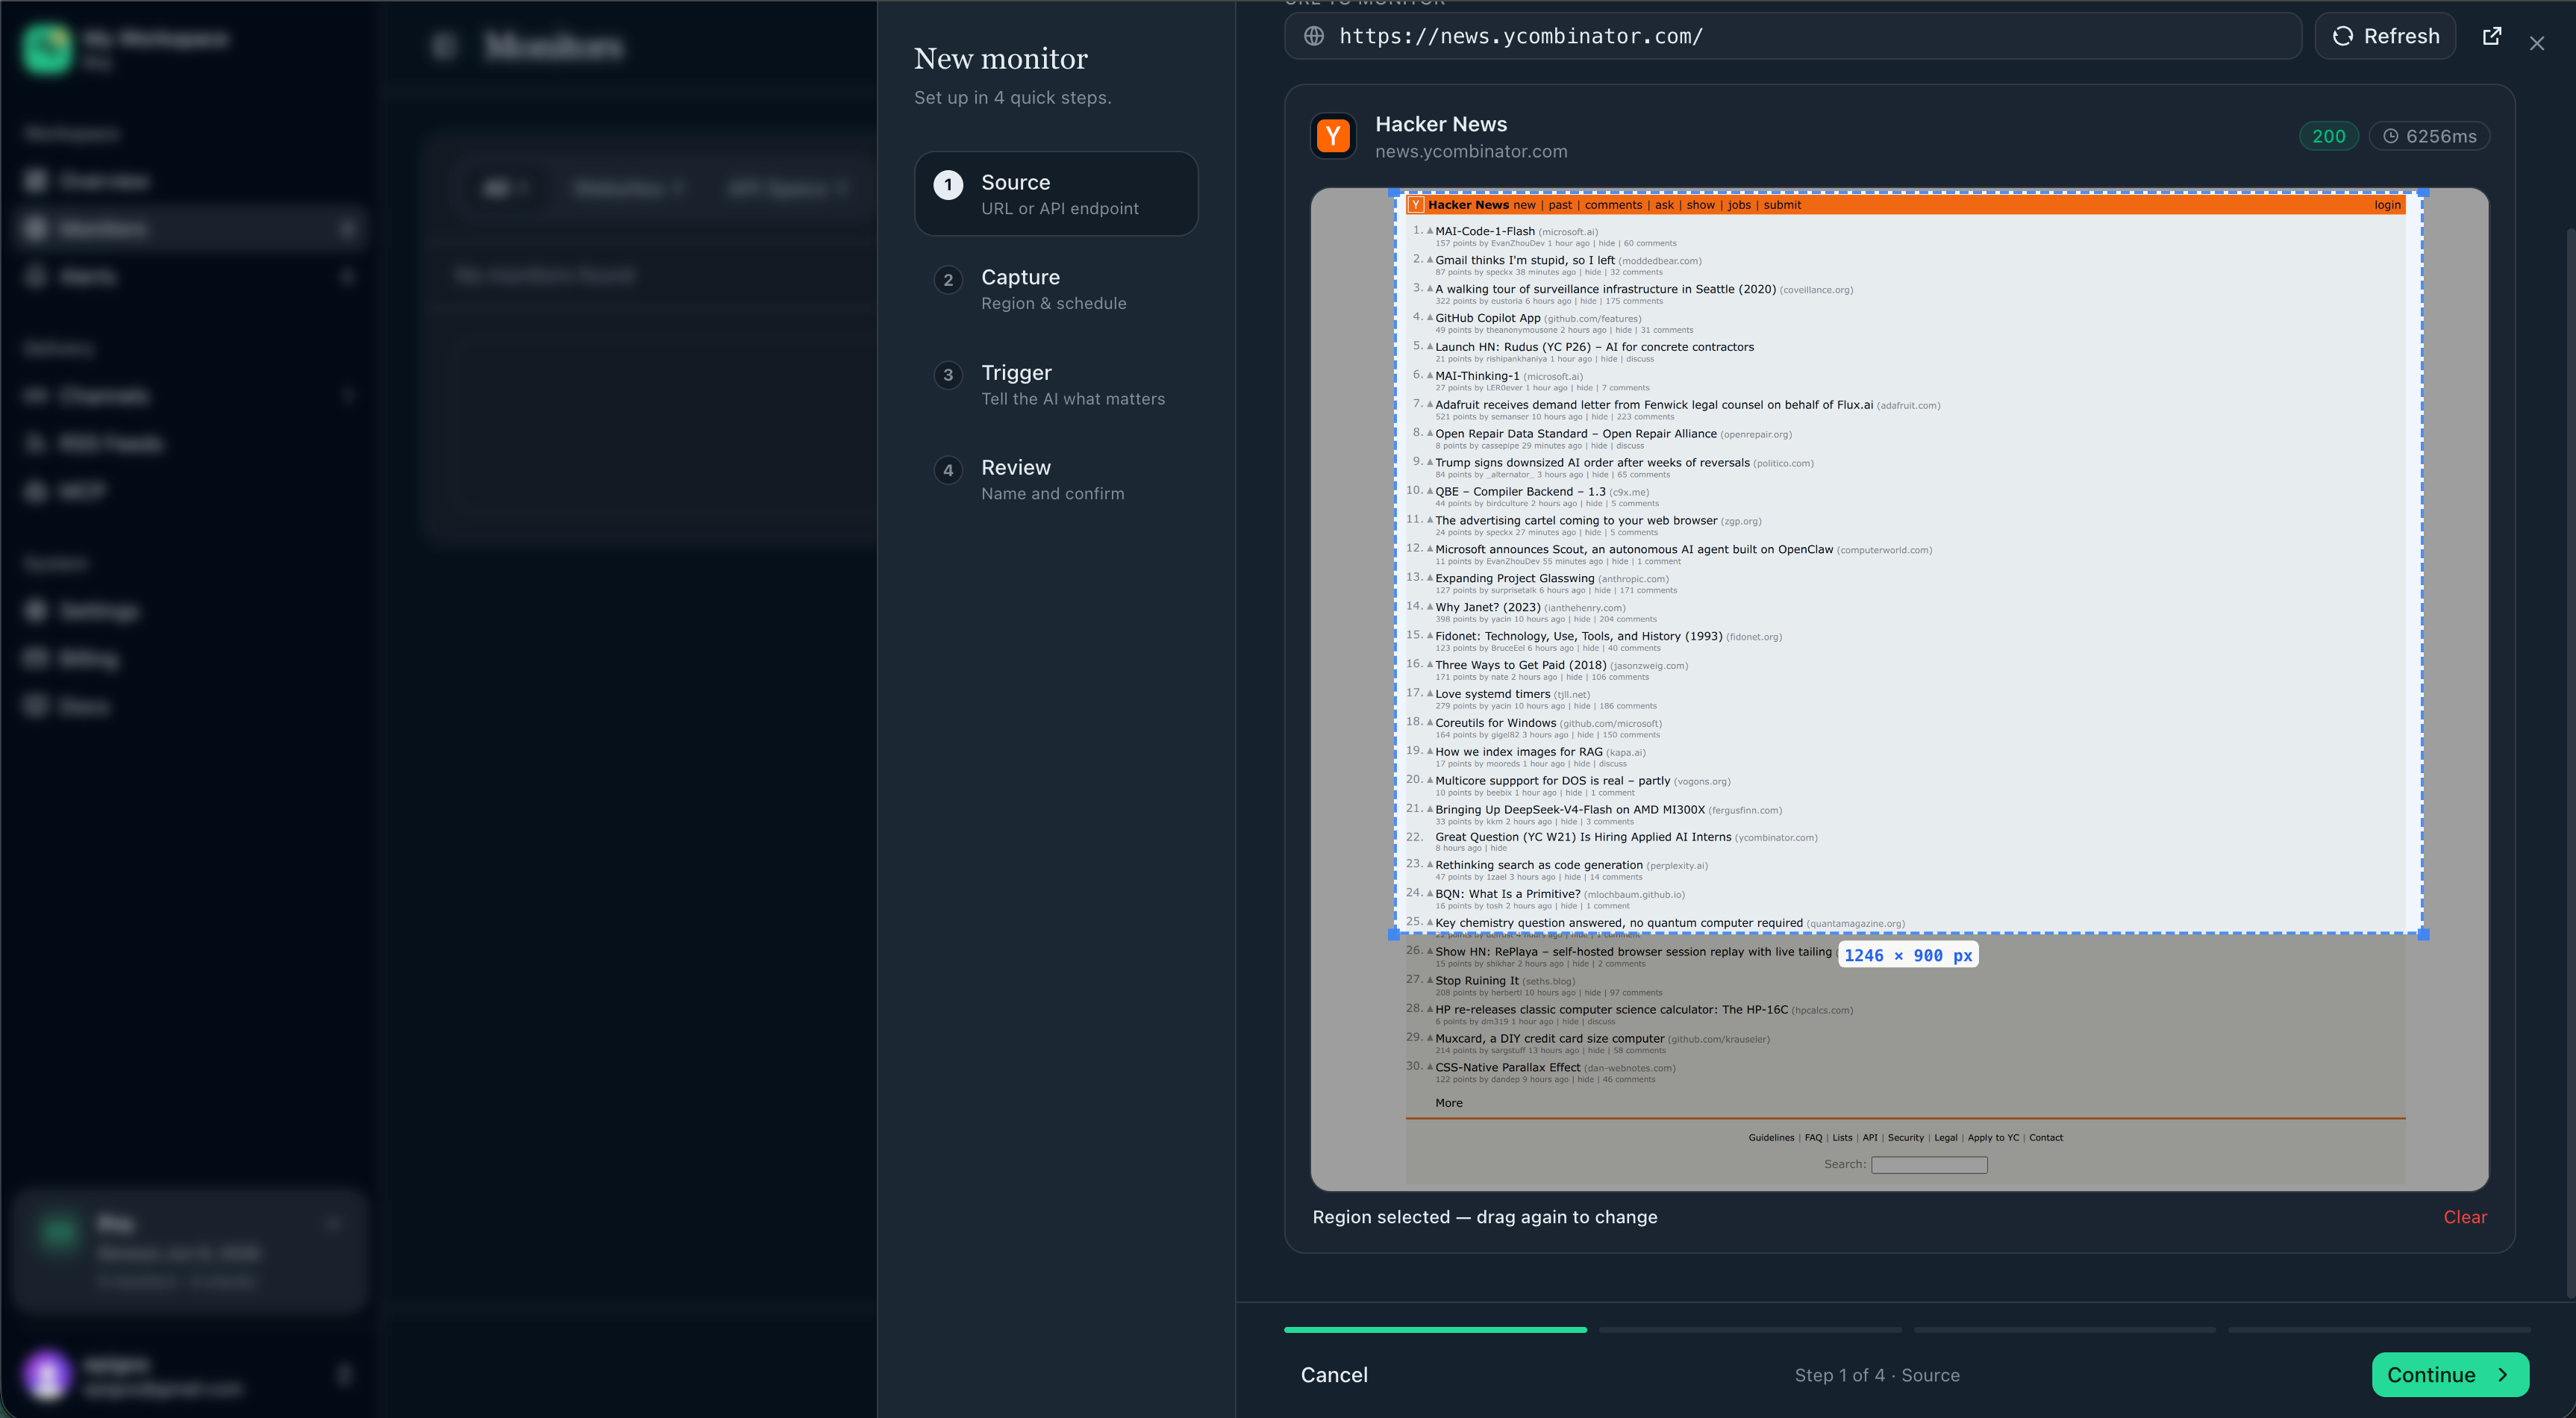
Click Next when you are ready.
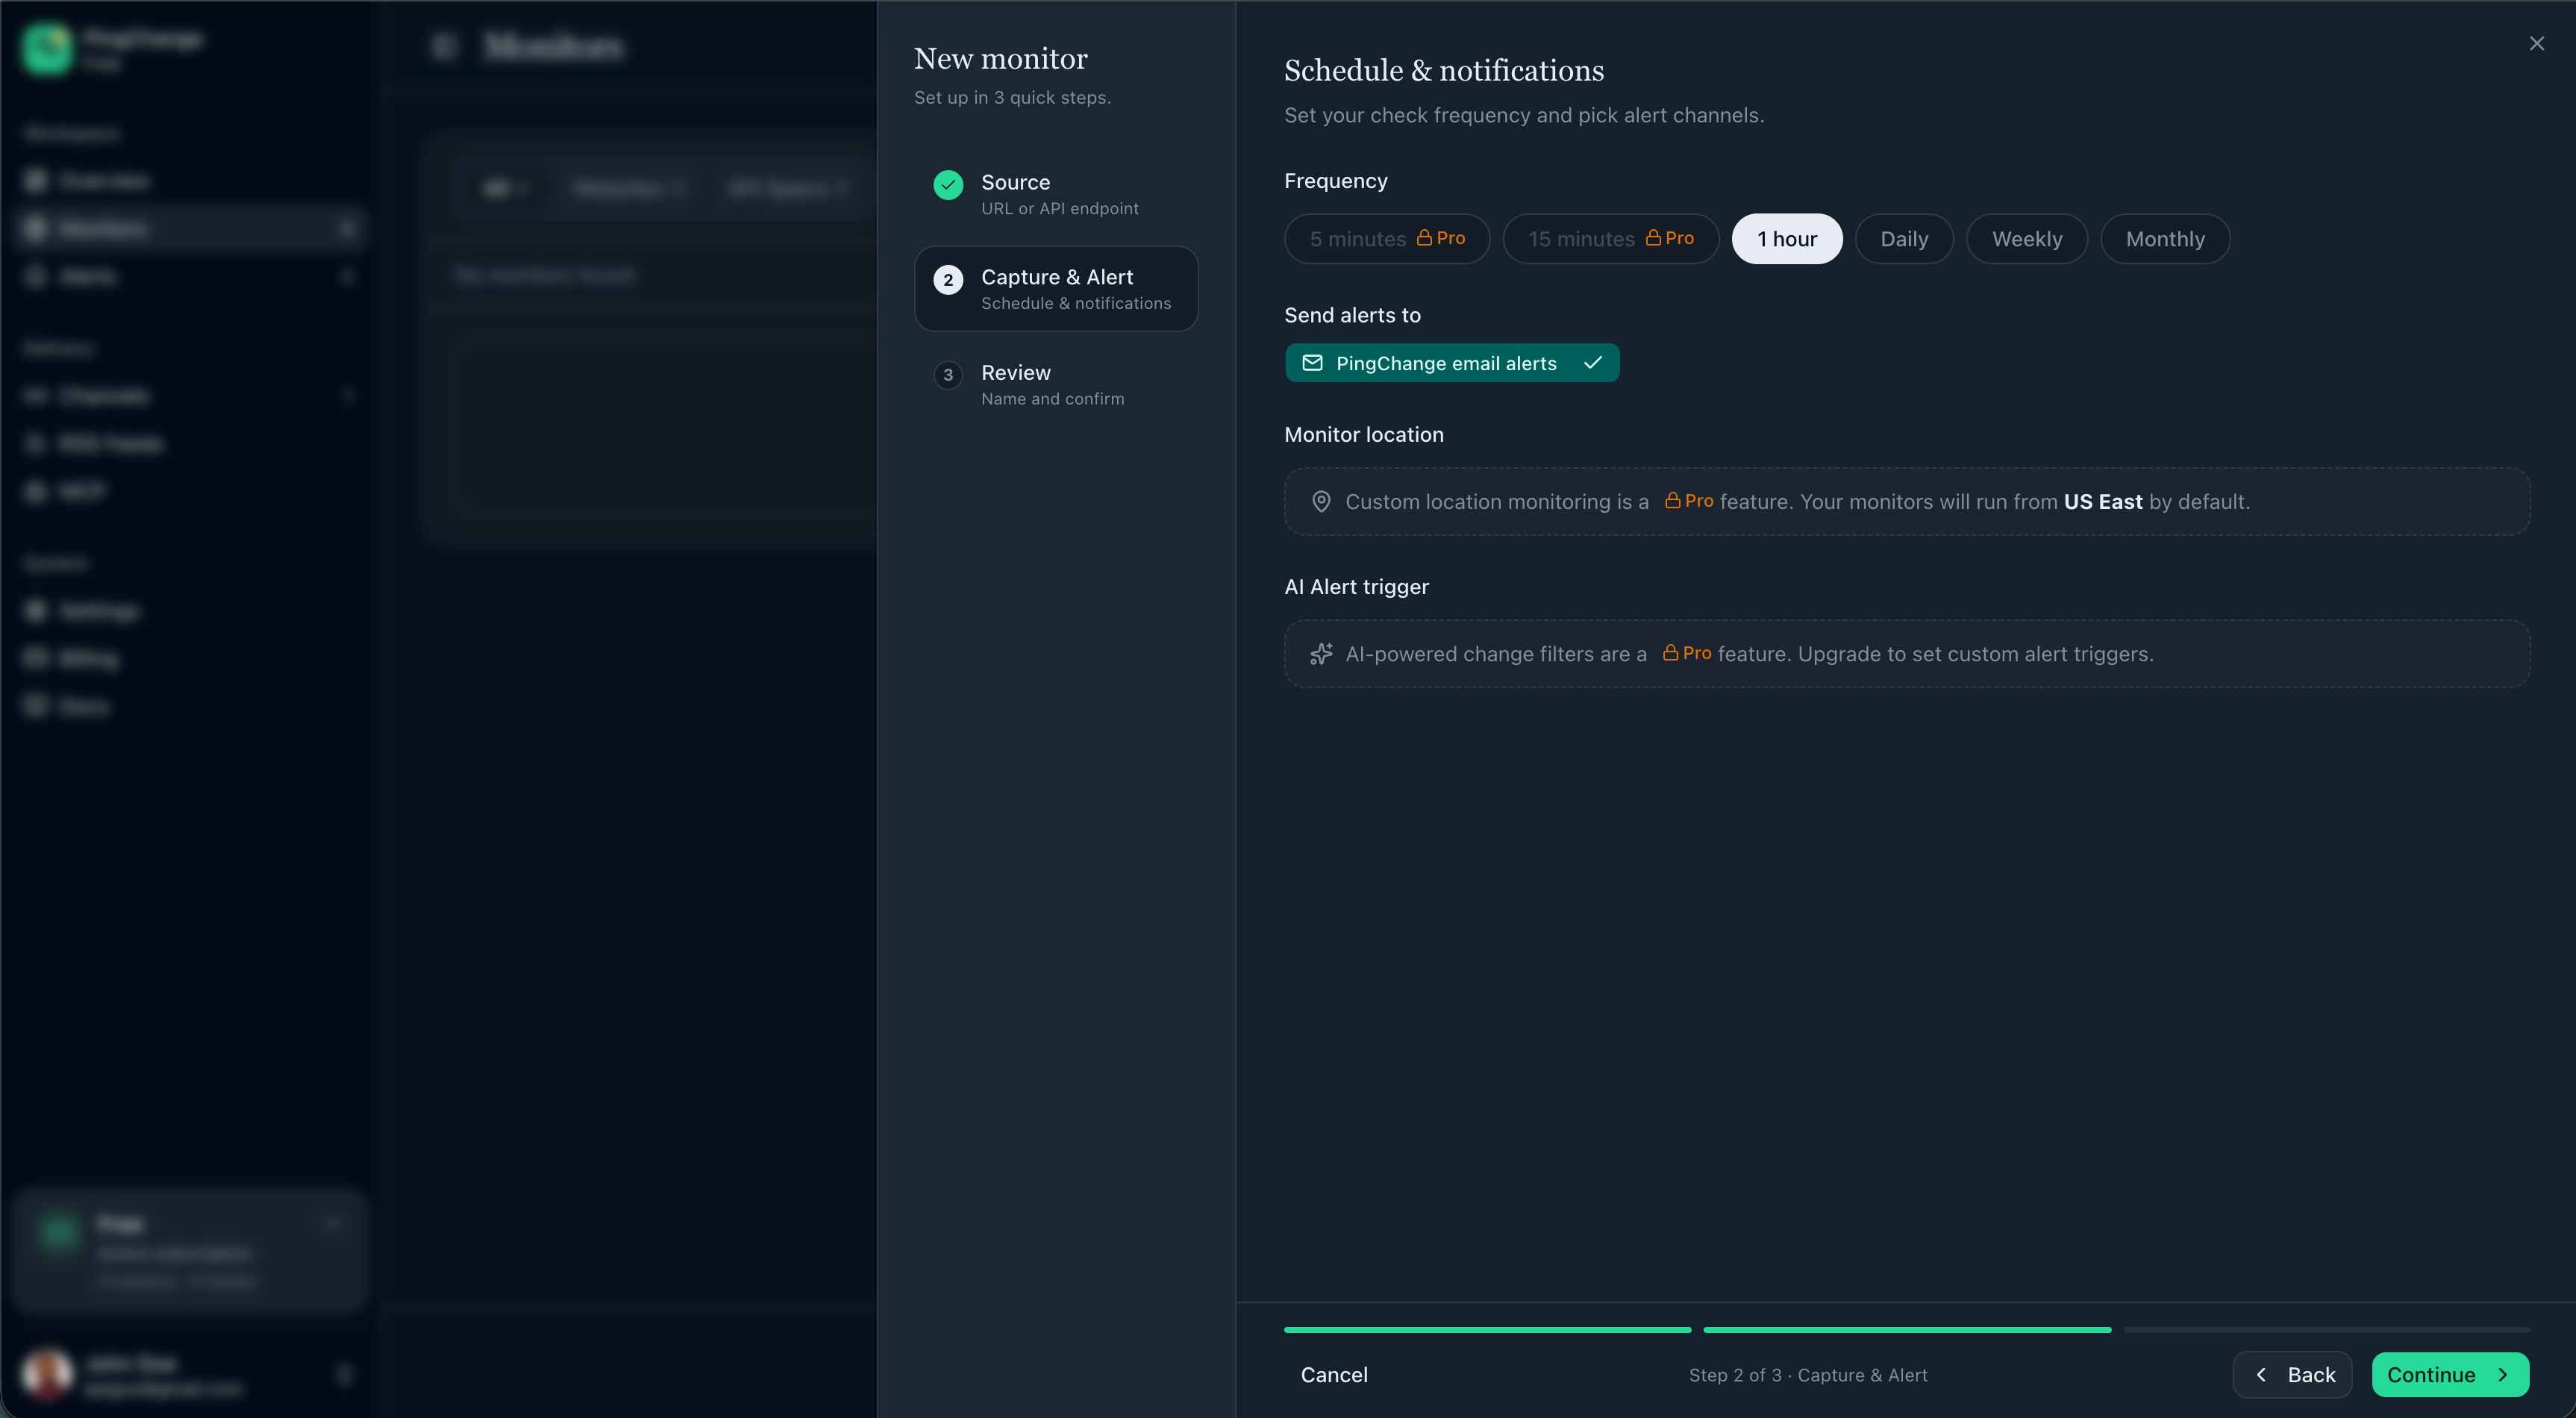
4. Step — Capture and alerts
What you see here depends on your plan.
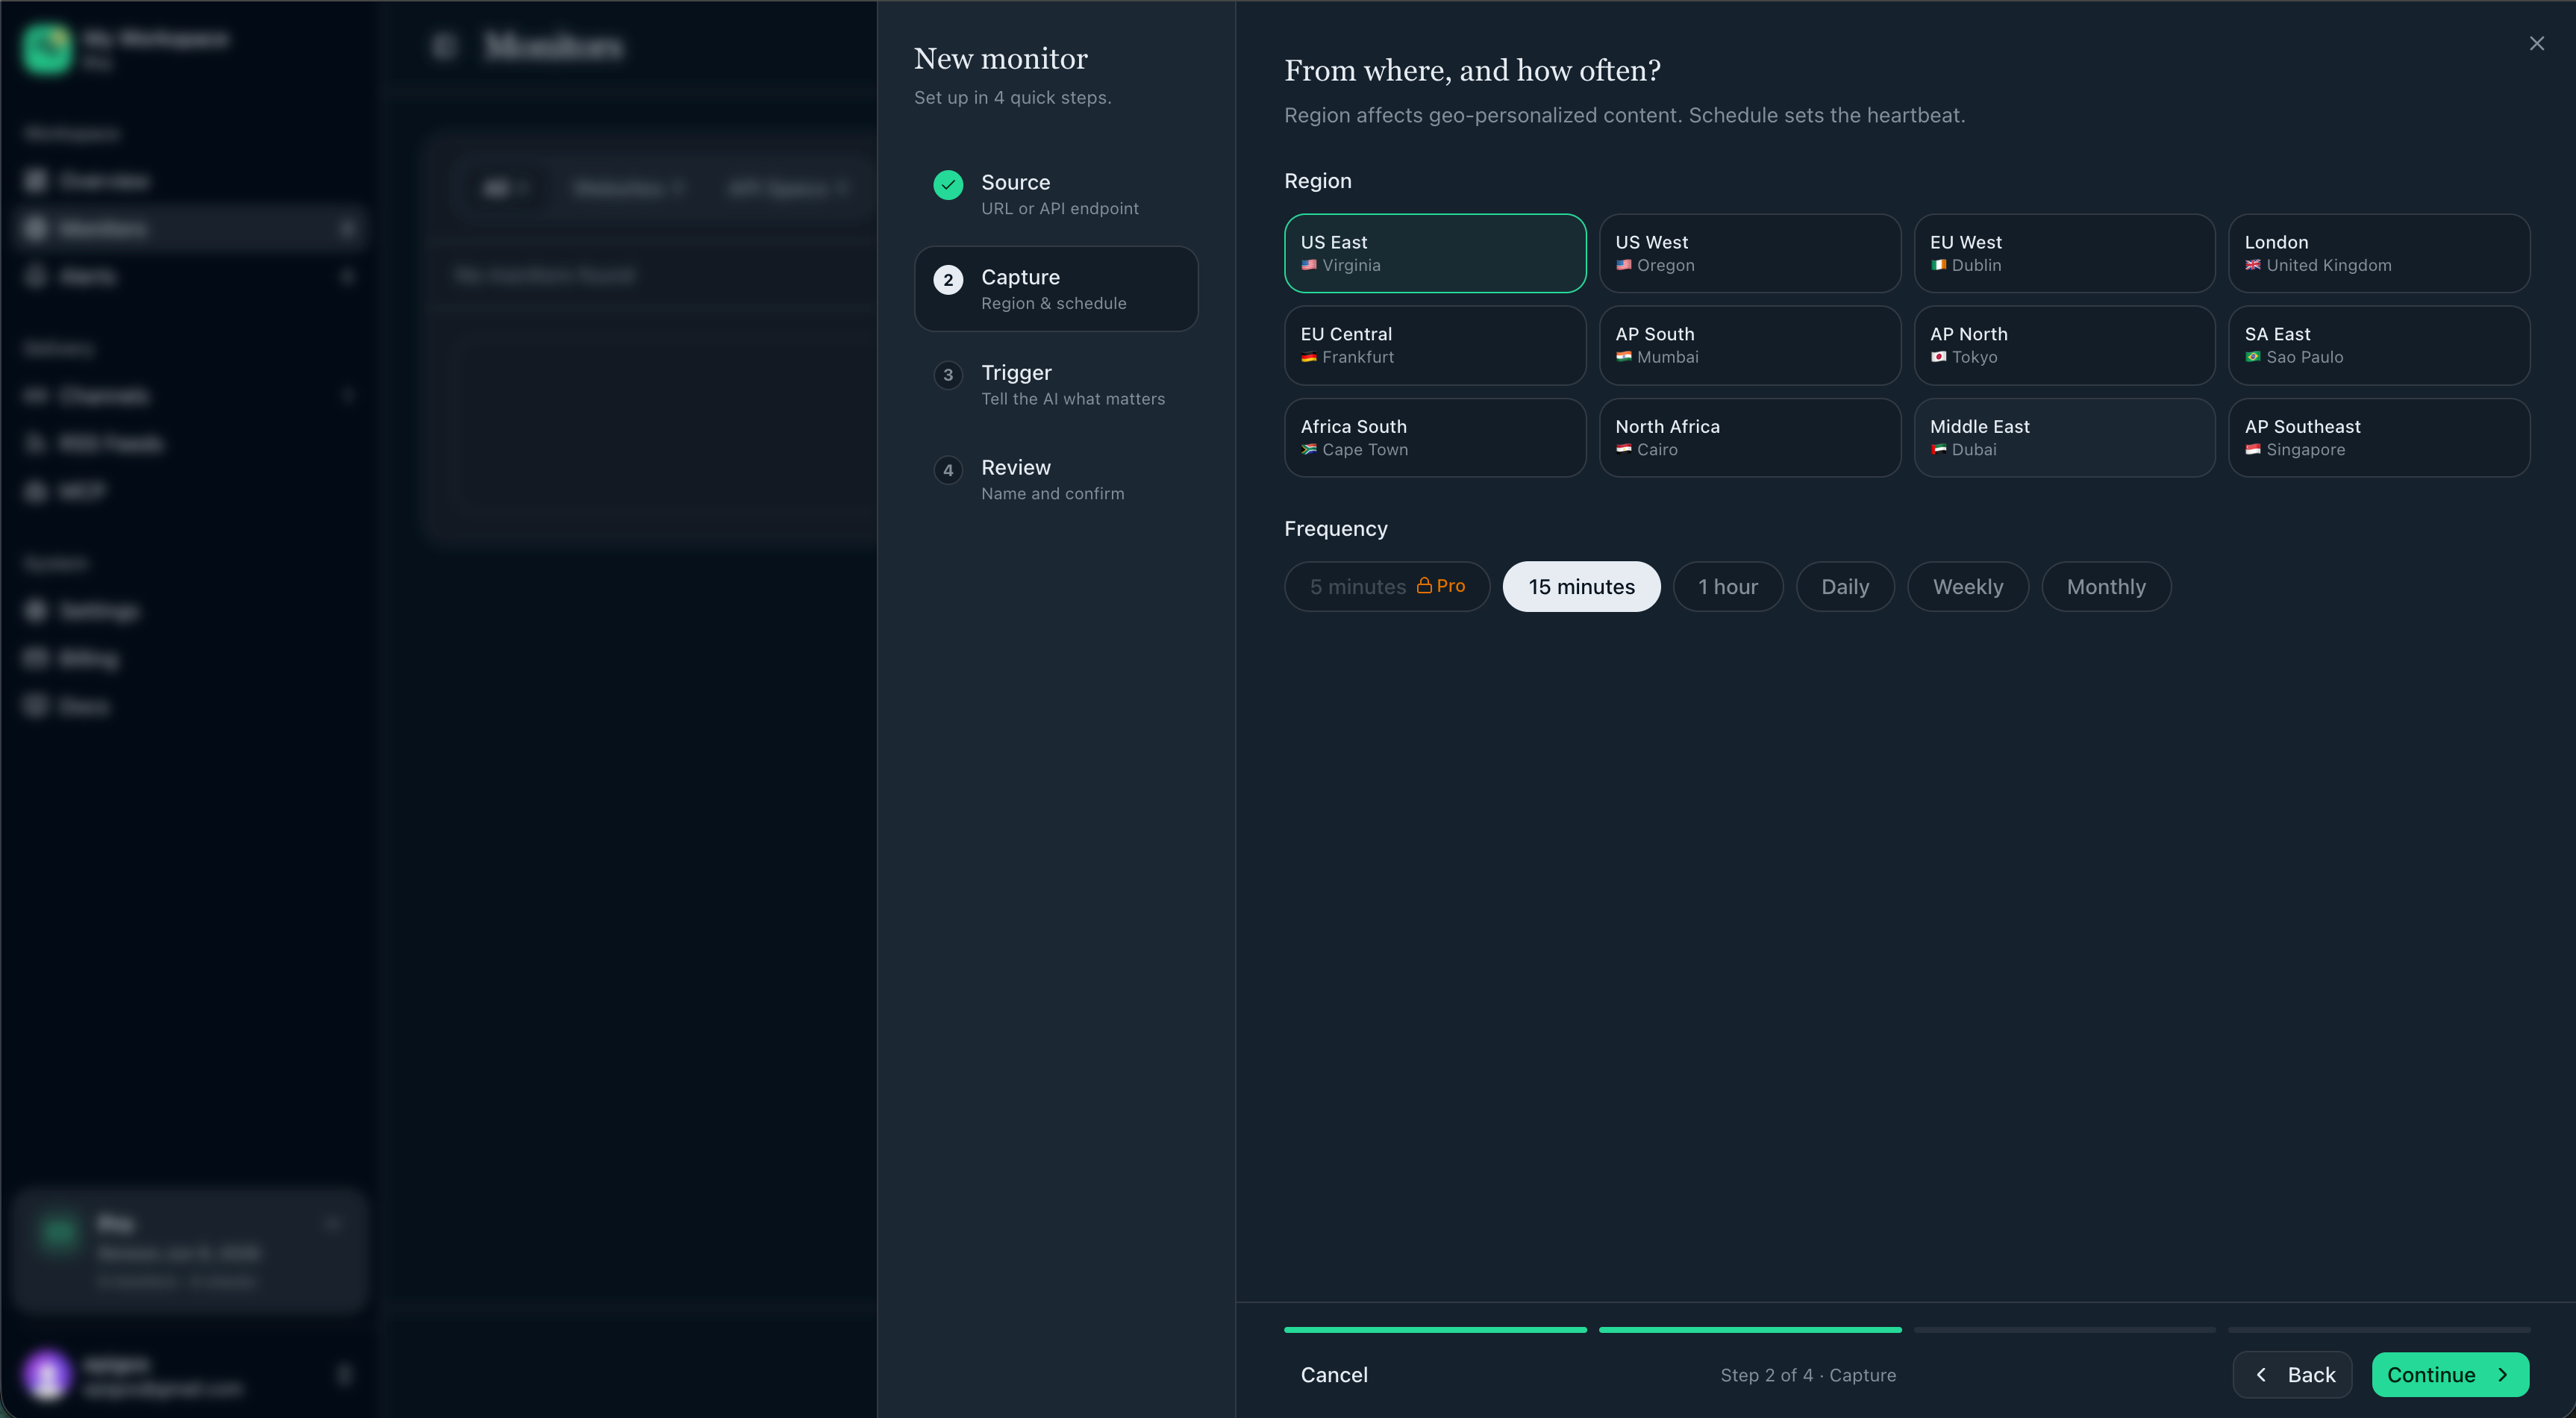
Paid plans: region and frequency
- Under Region, pick one or more monitor locations (where we run the check from geographically). This matters when the same URL shows different content by country.
- Under Frequency, pick how often we run the check (for example every 15 minutes or daily).
Free plan: frequency and channels (and plan upsells)
- Set Frequency for how often we check the URL.
- Choose Send alerts to by selecting one or more channels you already created.
- You will also see callouts that custom monitor location and AI-powered change filters unlock on paid plans; on free, checks use a default location and broader change detection unless you narrowed the page with a region in step 3.
Paid plans: continue to the AI trigger step
Click Next. You will set the AI prompt and notification channels together.
5. Step — AI trigger and channels (paid plans)
- In AI prompt, describe what should trigger an alert in plain language (for example “Only alert when prices or plan names change” or “Alert when the refund section is edited”).
- Optional: use suggestion chips after preview to seed the prompt.
- Under Send alerts notifications to, select the channels that should receive alerts for this monitor.

Click Next.
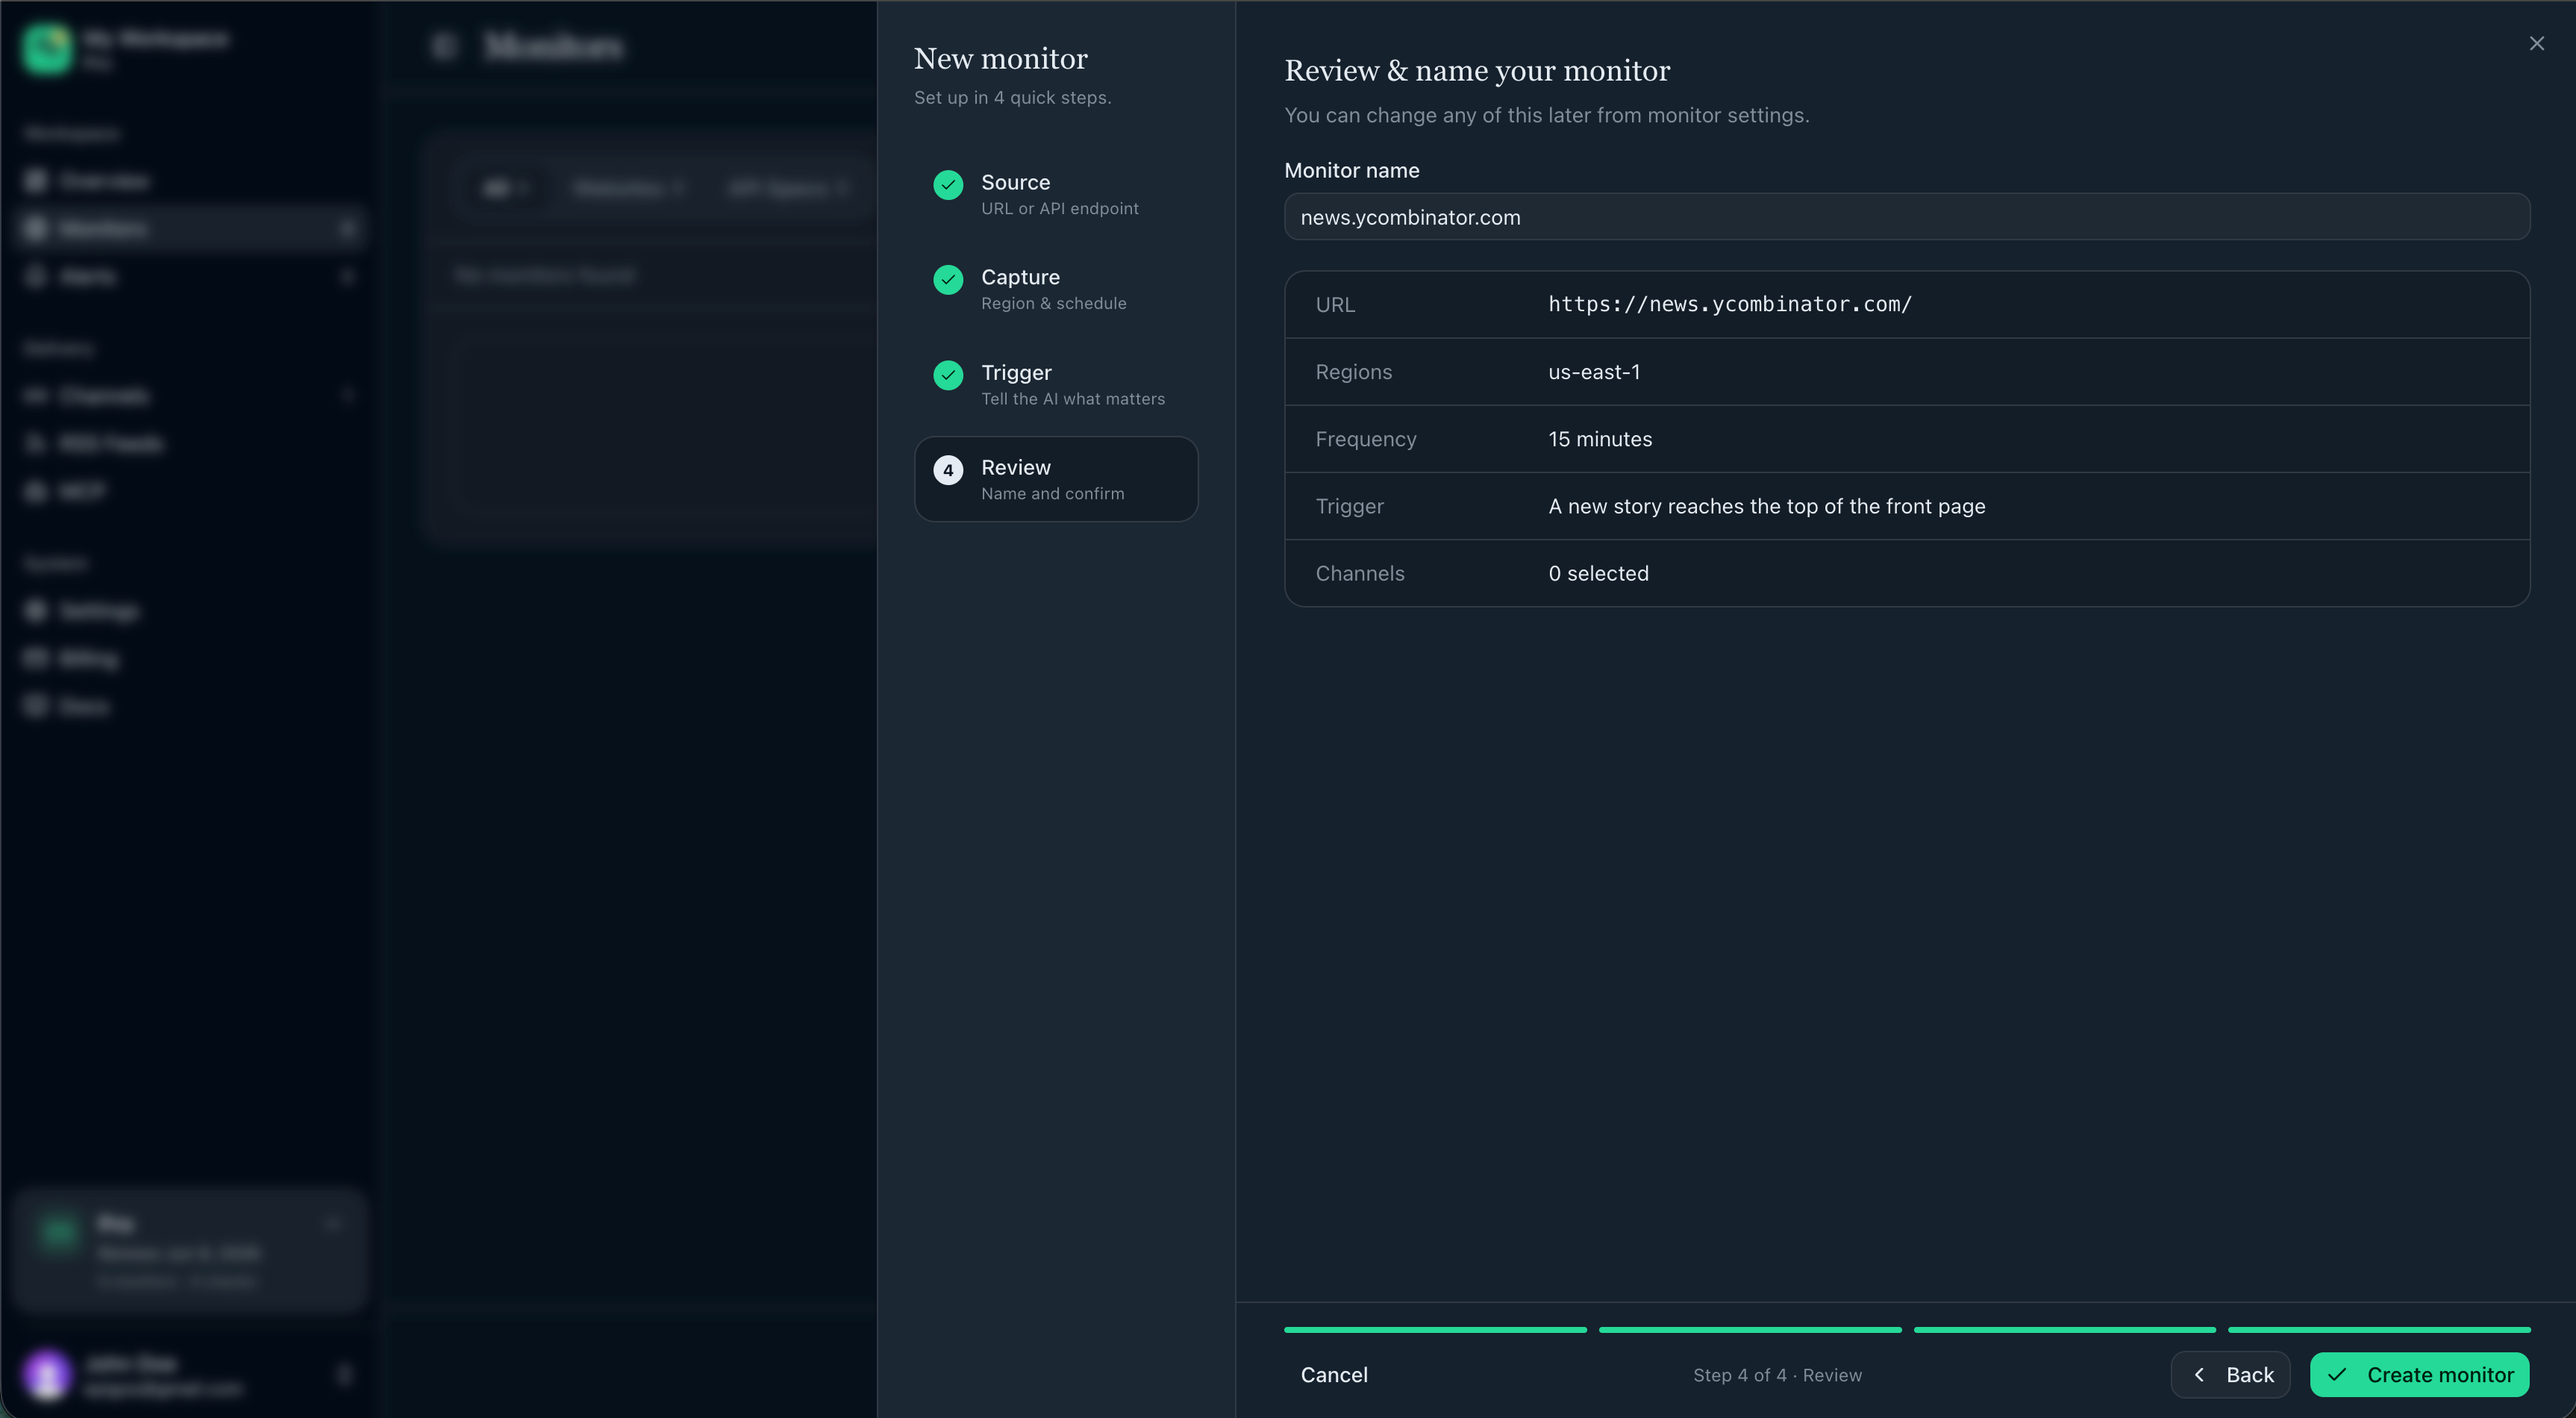
6. Step — Review and create
- Review URL, frequency, and on the paid plan regions, AI prompt, and channels.
- Edit Monitor name if you want something clearer than the default (often derived from the site).
- Click Create monitor.
What happens next
- We baseline the page or spec and start running checks on your schedule.
- When a meaningful change is detected, alerts go to the channels you linked.
- Open Dashboard → Alerts or your monitor’s change history to inspect each diff.
Free vs paid wizard
| Free plan | Paid plans | |
|---|---|---|
| Steps | Source → Capture and alert → Review | Source → Capture → Trigger → Review |
| Preview and optional page region | Yes | Yes |
| Choose monitor location (geolocation) | Default location; upgrade to choose regions | Pick one or more regions |
| AI prompt for alert focus | Shown as a paid feature in the flow | Required in the Trigger step |
| Notification channels | Selected in Capture and alert | Selected in Trigger |
| Anti-bot handling in preview and checks | Paid-oriented behavior on paid plans | Same |